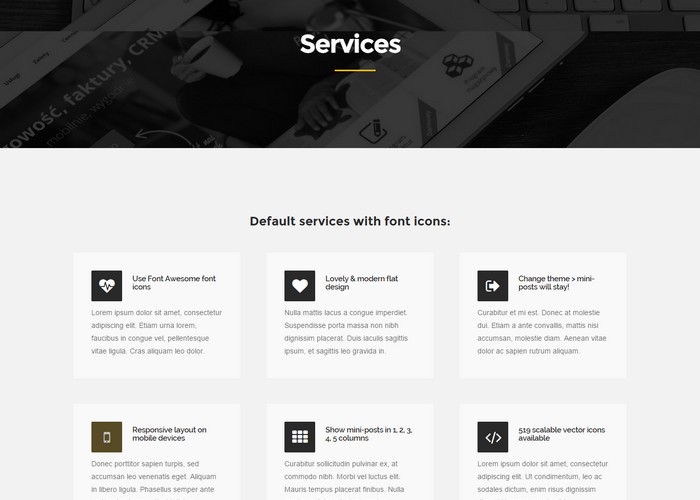
If you’re looking for a free WordPress plugin you can use to create and display cool testimonials, services, meet the team and much more. Let me introduce the Master Posts plugin from Themnific.
This is a very useful, powerful and easy-to-use plugin with a lot of features and options to add great features to your WordPress website. Master posts mini-posts work like classic wp posts. Just choose post type, add a title, set featured image and set the post options you want to include – done!
A great thing is you can change or switch WordPress themes anytime and your mini-posts will stay!
Let’s find out how the plugin works! Follow my tutorial to install, setup and add services, testimonials and staff mini custom posts in WordPress.
Install Master Posts Plugin
- Unzip the main (downloaded) file – to get masterposts.zip file,
- Go to Plugins ->Add New,
- Click ‘Upload’ link,
- Browse to the plugin’s zip file (masterposts.zip) and choose that file,
- Click Install Now.
- Click Activate Plugin.
Setup Master Posts Plugin
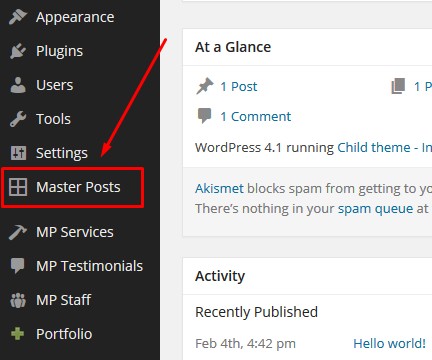
Go to ‘Master Posts’ admin panel and setup the plugin. If you want to use the default setup. Click on Master Posts in your dashboard and and hit “Save All Changes” button to set default style settings.
Optional, you can customize anything in the following tabs:
- Services Settings
- Testimonial Settings
- Staff Settings
Make your choices and save all changes.
Don’t worry. You can always go back and change your settings later.
Creating Custom Posts
Master Posts comes with three custom posts types (mini-posts): MP Services, MP Testimonials and MP Staff. You can access and create these posts in main dashboard menu:
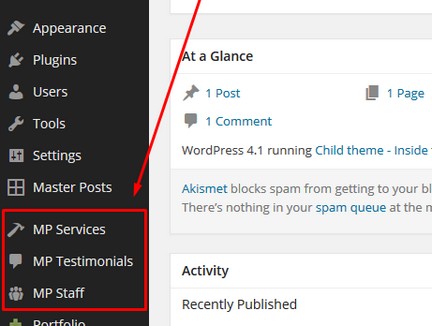
Custom posts types are similar and work similar to classic posts. You can add and set post title, content, featured image and sort/list these posts into own categories.
- Go to MP Services -> Add New to create your first ‘Service’ post.
- Add post title, some content (text).
- Create ‘services’ categories and add posts to any category (optional).
- Set featured image or use Font Awesome icons (full list of all available icons) and fill fields in ‘Service options’ tab.
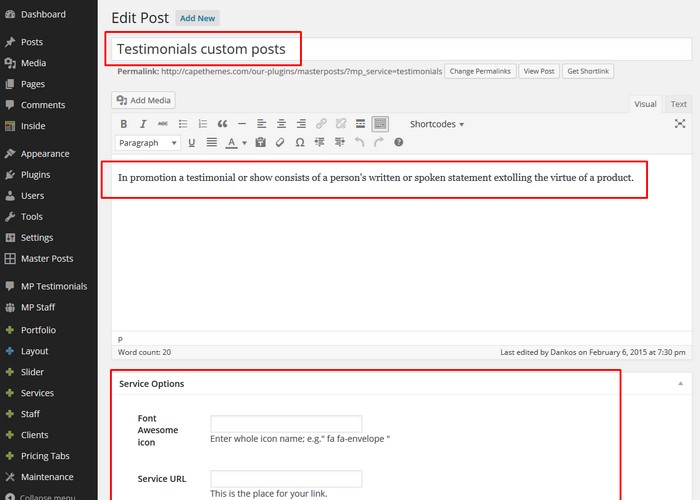
Create as many service posts you want to use and need.
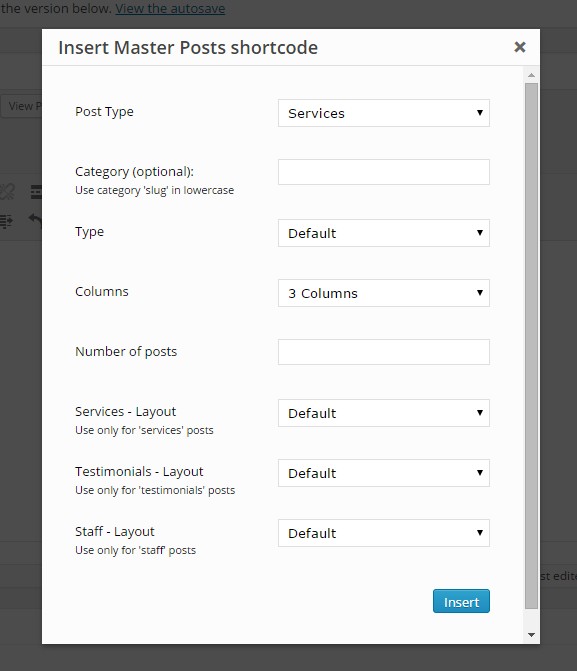
Create a new page or post. You will find a new button in the editor that you can use to insert shortcodes for different post types.

Such as Services, Testimonials or Staff.
Take a look at how it might look in the Master Posts demo.
Shortcodes and examples:
Services
[mp-services]

There are several options that may be specified in shortcode such as:
[mp-services type=”boxed”]
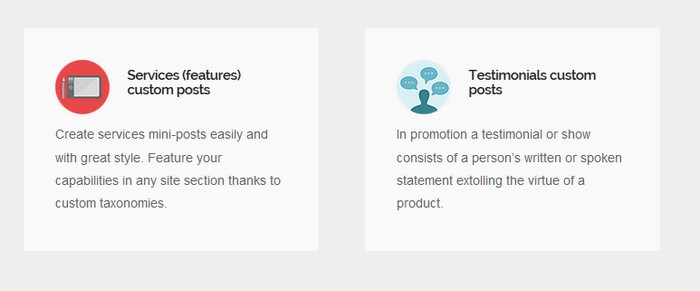
To create Testimonials and Staff you repeat the procedure as you did when you created the Services posts. When you’re done with your custom posts use the Master Post button in the editor to insert the shortcode on a page or post.
Testimonials
[mp-testimonials]

Staff
[mp-staff]

Conclusion
The Master Posts plugin is a very useful and really cool plugin to easily create stylish, attractive and elegant Services, Testimonials, and Staff mini custom posts. It takes a few minutes to get the hang of how it works. You can count on a small learning curve if you are a beginner.
I recommend you read and follow the very detailed and explanatory manual that comes in the zip file when you download the plugin. If you are familiar with using and configuring WordPress plugins. Well, then you’re ready to go. It is an easy and fun way to create functions that normally require multiple plugins.
There are some negative aspects when using plugins that generate shortcodes. You can change the theme, no problem, but if you want to deactivate or change the plugin, it immediately becomes a bit of trouble. All the content that is inserted with shortcodes as, in this case, services, testimonials and staff fall flat. It will be shown in your post or page as just the shortcode (not looking very fancy). So keep that in mind when you are installing WordPress plugins that use shortcodes.


