If you if you regularly test or develop WordPress themes and plugins, it is a big advantage to set up and use a local sever environment. The big question is perhaps how you can setup such an environment? Many of our readers often ask about how to install WordPress locally on their computer.
There are various ways and methods to install WordPress locally. Today I show how to use Instant WordPress. With Instant WordPress, you can easily test themes, plugins, codes and other solutions in convenient and simple ways.
This is a very useful tool that is easy to use and you can even run WordPress from a USB stick.
Before we begin the tutorial, I just want to show some of the most used ways to install WordPress locally on a computer for Windows and Mac. You will find many great tutorials on search engines like Google if you want use some of the tools below to install and setup a local sever environment.
- WAMP – WampServer is a Windows web development environment.
- MAMP – Stands for Macintosh, Apache, MySQL, and PHP.
- XAMPP – Is a cross-platform, Apache, MySQL, PHP and Perl.
Instant WordPress
But today, we make use of Instant WordPress (InstantWP) for Windows to install WordPress on a USB stick. The easiest and quickest way to install WordPress! I have used Instant WordPress a long time for test purposes. I run all the themes and plugins I try every week here in order to quickly test them. It’s ideal if you want to run your test environment on your computer, or move it to another computer. Everything is on your USB stick.
What exactly does Instant WordPress do when you download and install the program? What components are included? Instant WordPress 4.3.1 contains the following software:
- Comes with it’s own built in Apache web server, PHP and MySQL
- Comes with a set of dummy WordPress posts and pages
- Self-configuring, so it should not conflict with any software already running on your machine.
- Can be installed as many times as you wish and deleted by simply removing the folder that it is running from.
The installation of Instant WordPress is very easy and I promise that you are up and running in a few minutes. Here we go!
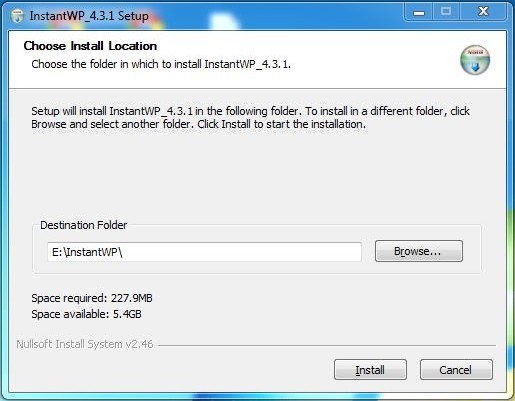
Download InstantWP executable and double click the file. Choose an installation folder by clicking the Browse button. I choose E:\InstantWP\ which is my USB Stick. Click the install button and Instant WordPress will be installed into the selected folder.
- Instant WordPress does not add anything to your systems registry or otherwise. It is entirely portable and runs from with the folder where it is installed.
- Instant WordPress can be installed on a USB key and will run from there.
- You can have several installations on the same machine or even the same USB key.
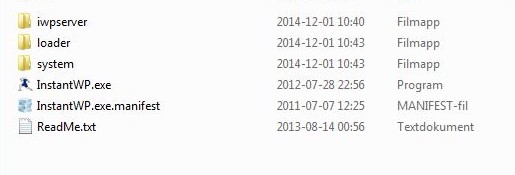
Once the program is installed, you will not find a shortcut on your desktop. Go to the directory you chose to install Instant WordPress. You can start up the program via file InstantWP.exe. If it’s easier for you, just create a shortcut to your desktop. double click and run Instant WordPress.
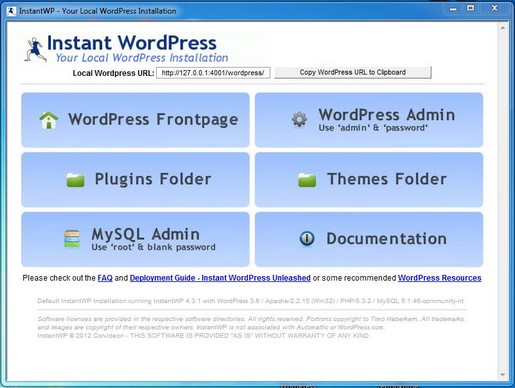
Now you see the Instant WordPress control panel and everything is set up and ready for use. It went pretty fast right? From here you can preview your local WordPress website. Log into WordPress. Get access to the plugins and themes folders. Log into the MySQL Admin and read the documentation. You can explore each tab to your needs.
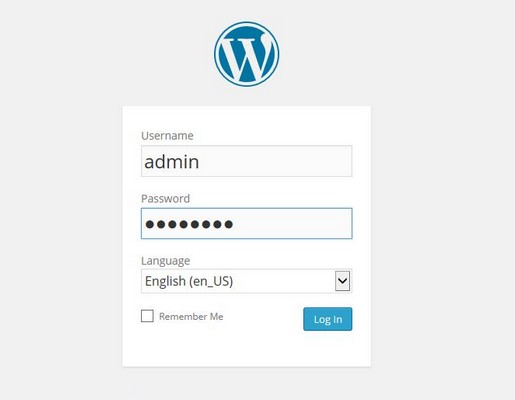
But I am begin to login to WordPress locally. Click on the WordPress Admin tab and use the pre-configured username and password.
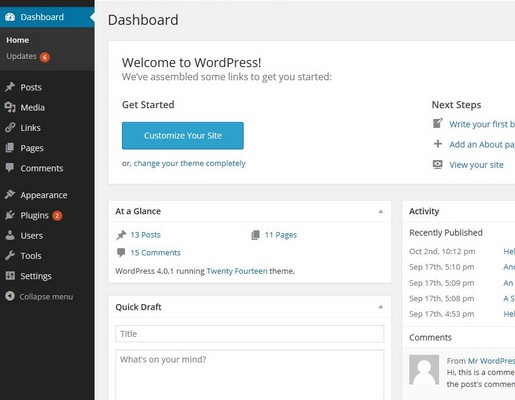
Once logged in you will see your Admin dashboard and it’s time to test the features and play around. From here you can do pretty much everything, just like in a self hosted WordPress installation on a web host. (As you can see when log in, it’s only WordPress version 3.6 installed and I recommend that you update to the latest version. Choose update automatically).
Before I leave you guys to play around I just want to show a screenshot of the post I created.
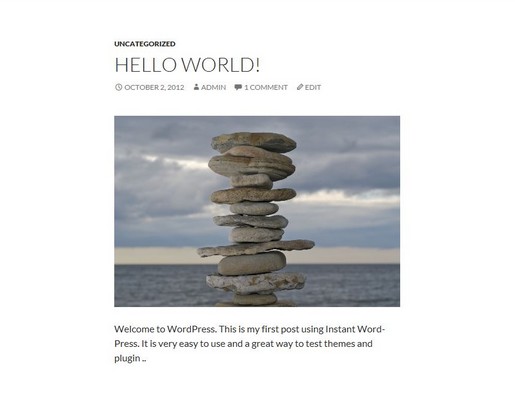
I picked a theme under the Appearance tab, Themes. The default theme for WordPress, 2014 Twenty Fourteen. I added a post and here is the result.
Time from I started the download of Instant WordPress until I posted my test article. About 5 minutes.
It’s outstanding. Instant WordPress is very easy to install and use. Plus you can run multiple installations of Instant WordPress for different projects. This is one of the easiest ways to use WordPress locally on your computer or USB stick. Perfect to to set up an local sever environment to test themes, plugins etc.
Feel free to explore the Instant WordPress control panel. See which features that may be useful to you. If you run into any problem just read the documentation.
STATUS: OUTDATED OR NO LONGER AVAILABLE!


Hi, I loaded everything and it works well until I tried to load another theme. The php.ini file was not allowing me to upload a new theme..
Hi Norm! I have not seen the problem you mention. But you can try to add a new theme via the Instant WordPress control panel and the Theme Folder tab. Download the theme of choice and unzip the theme. Then copy the theme folder and paste it in under the Theme Folder tab. Back in the dashboard in Instant WordPress go to the Appearance tab, tab, Themes and there you can activate your new theme. I hope it work out for you.
A few years ago I’d have JUMPED at using Instant WordPress as the concept is excellent.
But, due to several nasty experiences with USB sticks and hacker infection I wouldn’t use them now if they were free.
Great article though.